


Before repairing a Mercedes rear light assembly, prepare workspace, gather tools, lift vehicle with jack stands, remove old assembly carefully, inspect for damage, install new lights with proper alignment, maintain regularly for optimal safety and performance.
Are you ready to tackle a Mercedes rear light assembly repair? This comprehensive step-by-step guide will walk you through the process, ensuring your vehicle’s safety and lighting functionality. From preparing your workspace and gathering essential tools to carefully removing old lights and installing new ones, each stage is clearly outlined. Follow these instructions for a successful and efficient Mercedes rear light assembly repair.
- Prepare Your Workspace and Gather Tools
- Remove the Old Rear Lights Carefully
- Install New Lights and Reassemble the Assembly
Prepare Your Workspace and Gather Tools

Before tackling any Mercedes rear light assembly repair, it’s crucial to prepare your workspace and gather the right tools. Start by clearing a flat, well-lit area that can accommodate the vehicle safely. Ensure proper ventilation as some auto body repair tasks may involve hazardous materials or fumes. Gather all necessary tools including jack stands, torches (for safe heat application), screwdrivers (both flathead and Phillips), pliers, wire strippers, replacement light assembly parts, and any protective gear like gloves and safety glasses. A well-organized workspace is the foundation for a successful and efficient repair process.
Once your workspace is set, carefully lift the vehicle using a jack and secure it with jack stands to ensure stability throughout the repair. Begin by removing the damaged or faulty rear light assembly, following the reverse order of installation. This method allows for easier access to the components and simplifies the disassembly process. Keep track of each screw and nut as you remove them; organized storage can be invaluable during reassembly. With a clean, well-prepared workspace and the right tools at hand, you’re ready to take on your Mercedes rear light assembly repair like a professional auto repair service.
Remove the Old Rear Lights Carefully

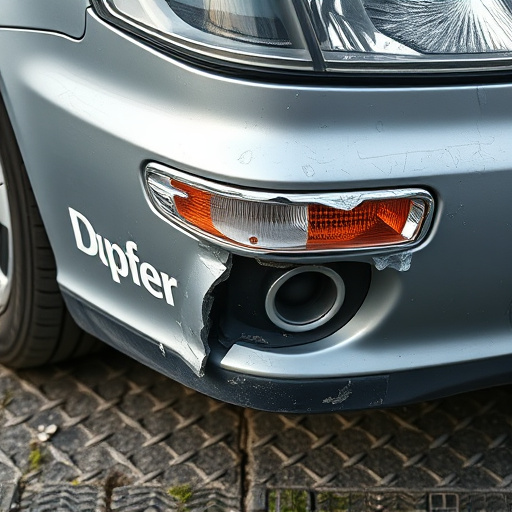
When repairing a Mercedes rear light assembly, the first step is to carefully remove the old lights. This process requires patience and precision to avoid damaging the surrounding vehicle bodywork. Start by locating the retaining clips or bolts that secure the rear lights in place. Using the appropriate tools, such as a torque wrench for specific models, gently loosen and remove these fasteners. As you take them out, keep an eye on any connected wiring or electrical components, ensuring they remain undisturbed.
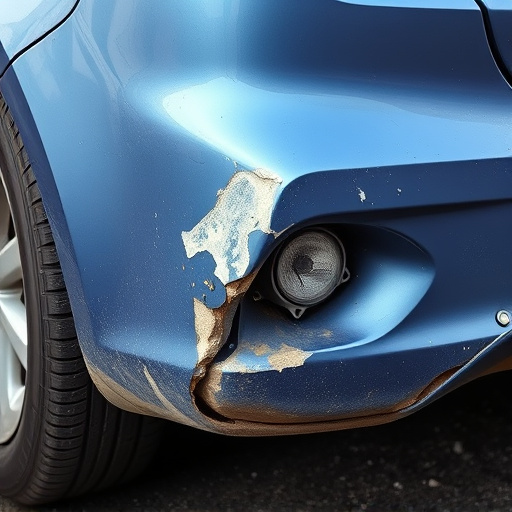
Once the old lights are removed, inspect the vehicle’s car bodywork for any signs of damage or wear that might have contributed to the need for repair. This includes checking for cracks, chips, or dents in the rear light housing, which could be addressed with a paintless dent repair technique if minor. Properly handling and storing these components will ensure they remain in good condition during the disassembly process.
Install New Lights and Reassemble the Assembly

After successfully removing the old or damaged Mercedes rear light assembly, it’s time to install new lights and reassemble the component. Begin by ensuring that all new parts are in their proper places and properly aligned. This includes the lights themselves, as well as any connectors or wiring harnesses. Double-check each connection for security and functionality before proceeding.
Next, carefully reassemble the Mercedes rear light assembly, following the reverse steps of disassembly. Make sure all bolts and brackets are securely fastened. Once everything is in place, test the new lights to confirm they’re functioning optimally. Regular auto maintenance includes checking and replacing tail light assemblies as needed, so keep an eye out for any signs of wear or damage that may require future repairs, especially after a mercedes benz collision repair.
Repairing your Mercedes rear light assembly is a manageable task with the right preparation. By following these steps, you can ensure a safe and effective replacement process. Remember to prioritize safety and take your time during each step, especially when handling vehicle components. With the old lights removed and new ones installed, you’re now one step closer to enhancing your Mercedes’s safety features and restoring its original shine.